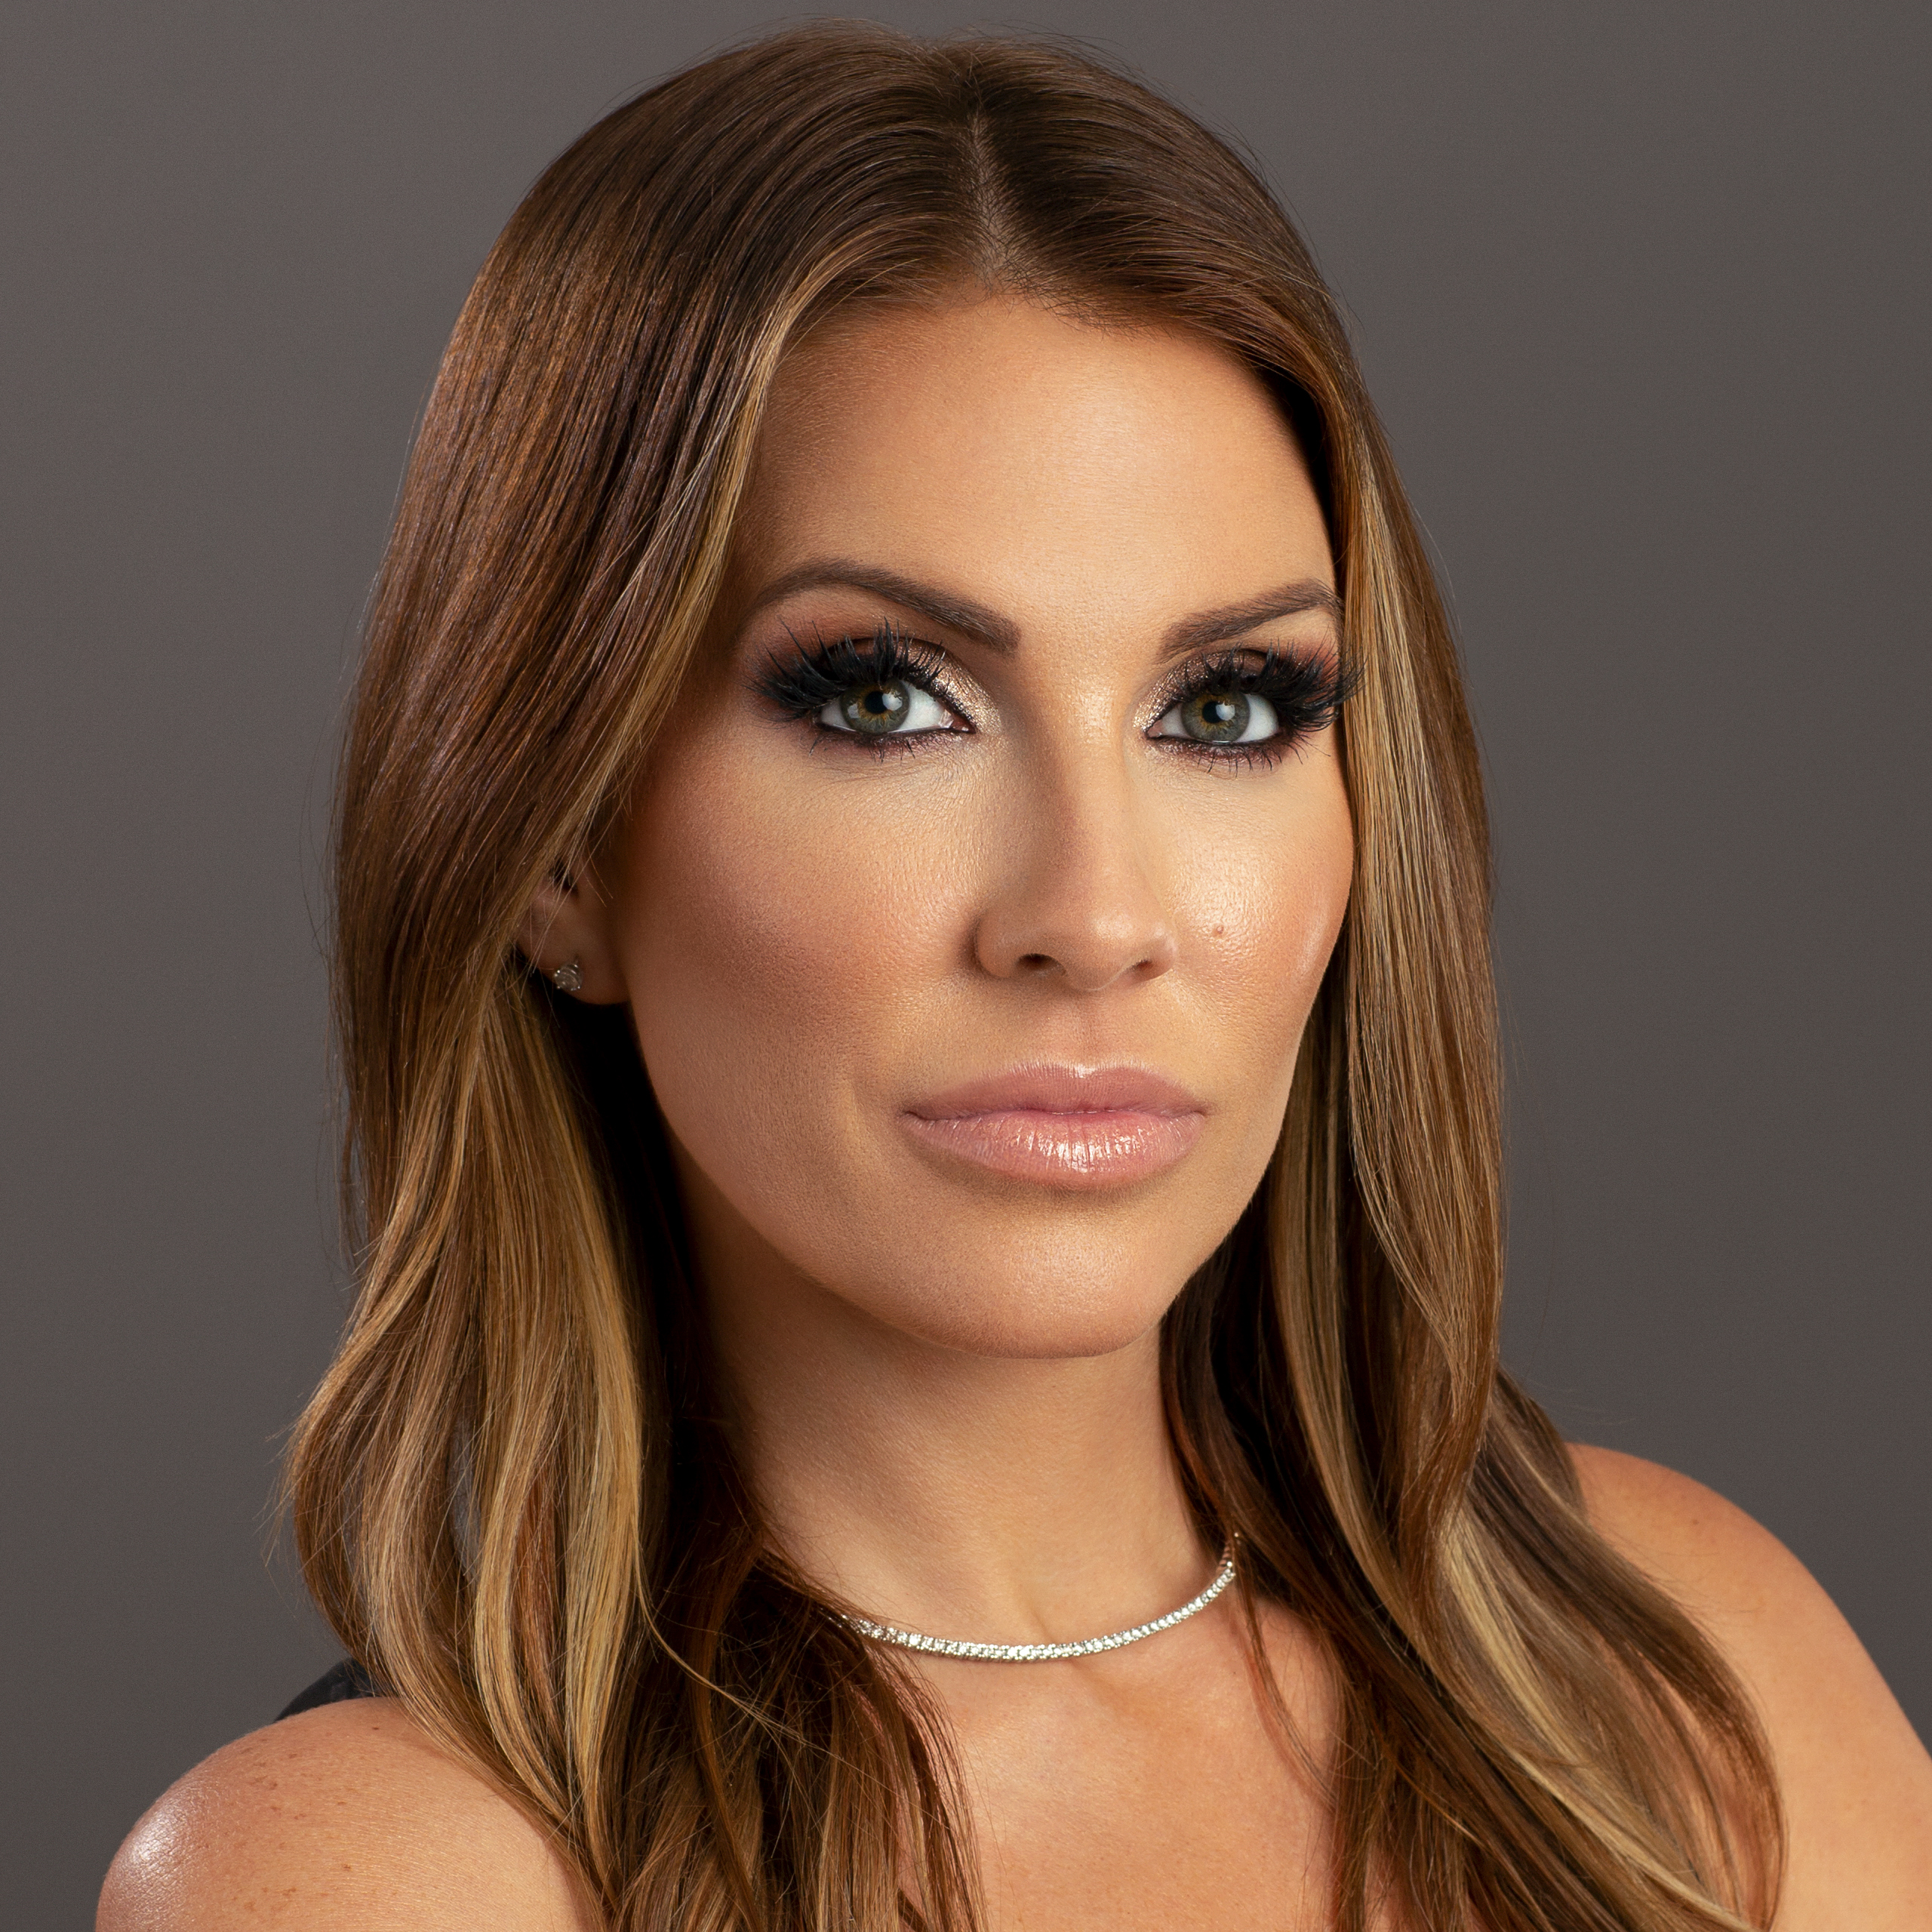

The Power Of Professional Editing | Before & After
Filed in HEADSHOTS, JOURNAL | BLOG, PORTRAITS / May 12, 2022 /
I’ll talk to you about this today and show you how important high end skin retouching is. I’ll take you through the process and you’ll see what goes into creating stunning headshots. Let’s go!
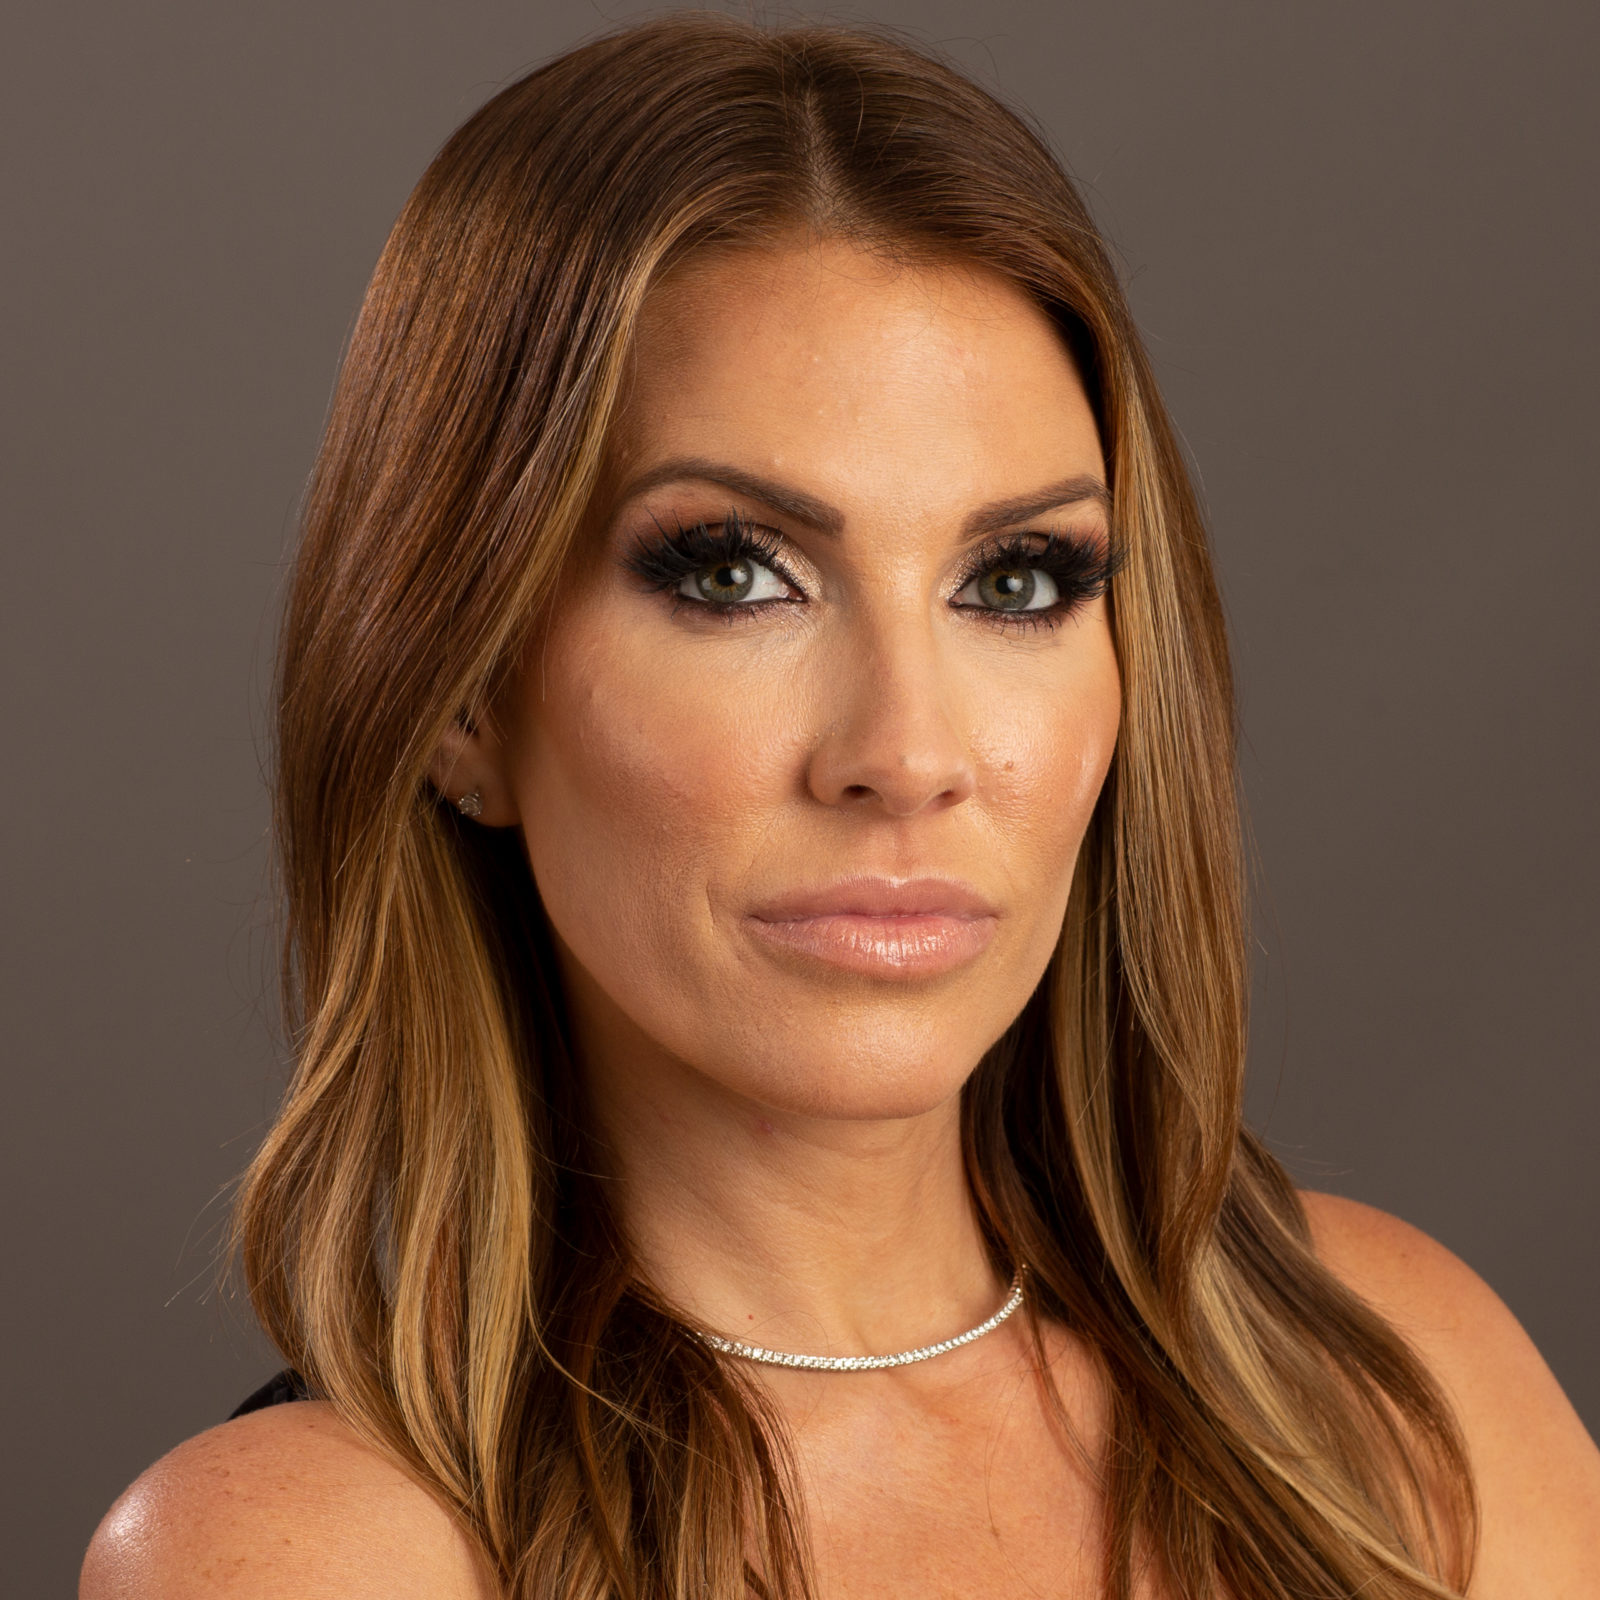
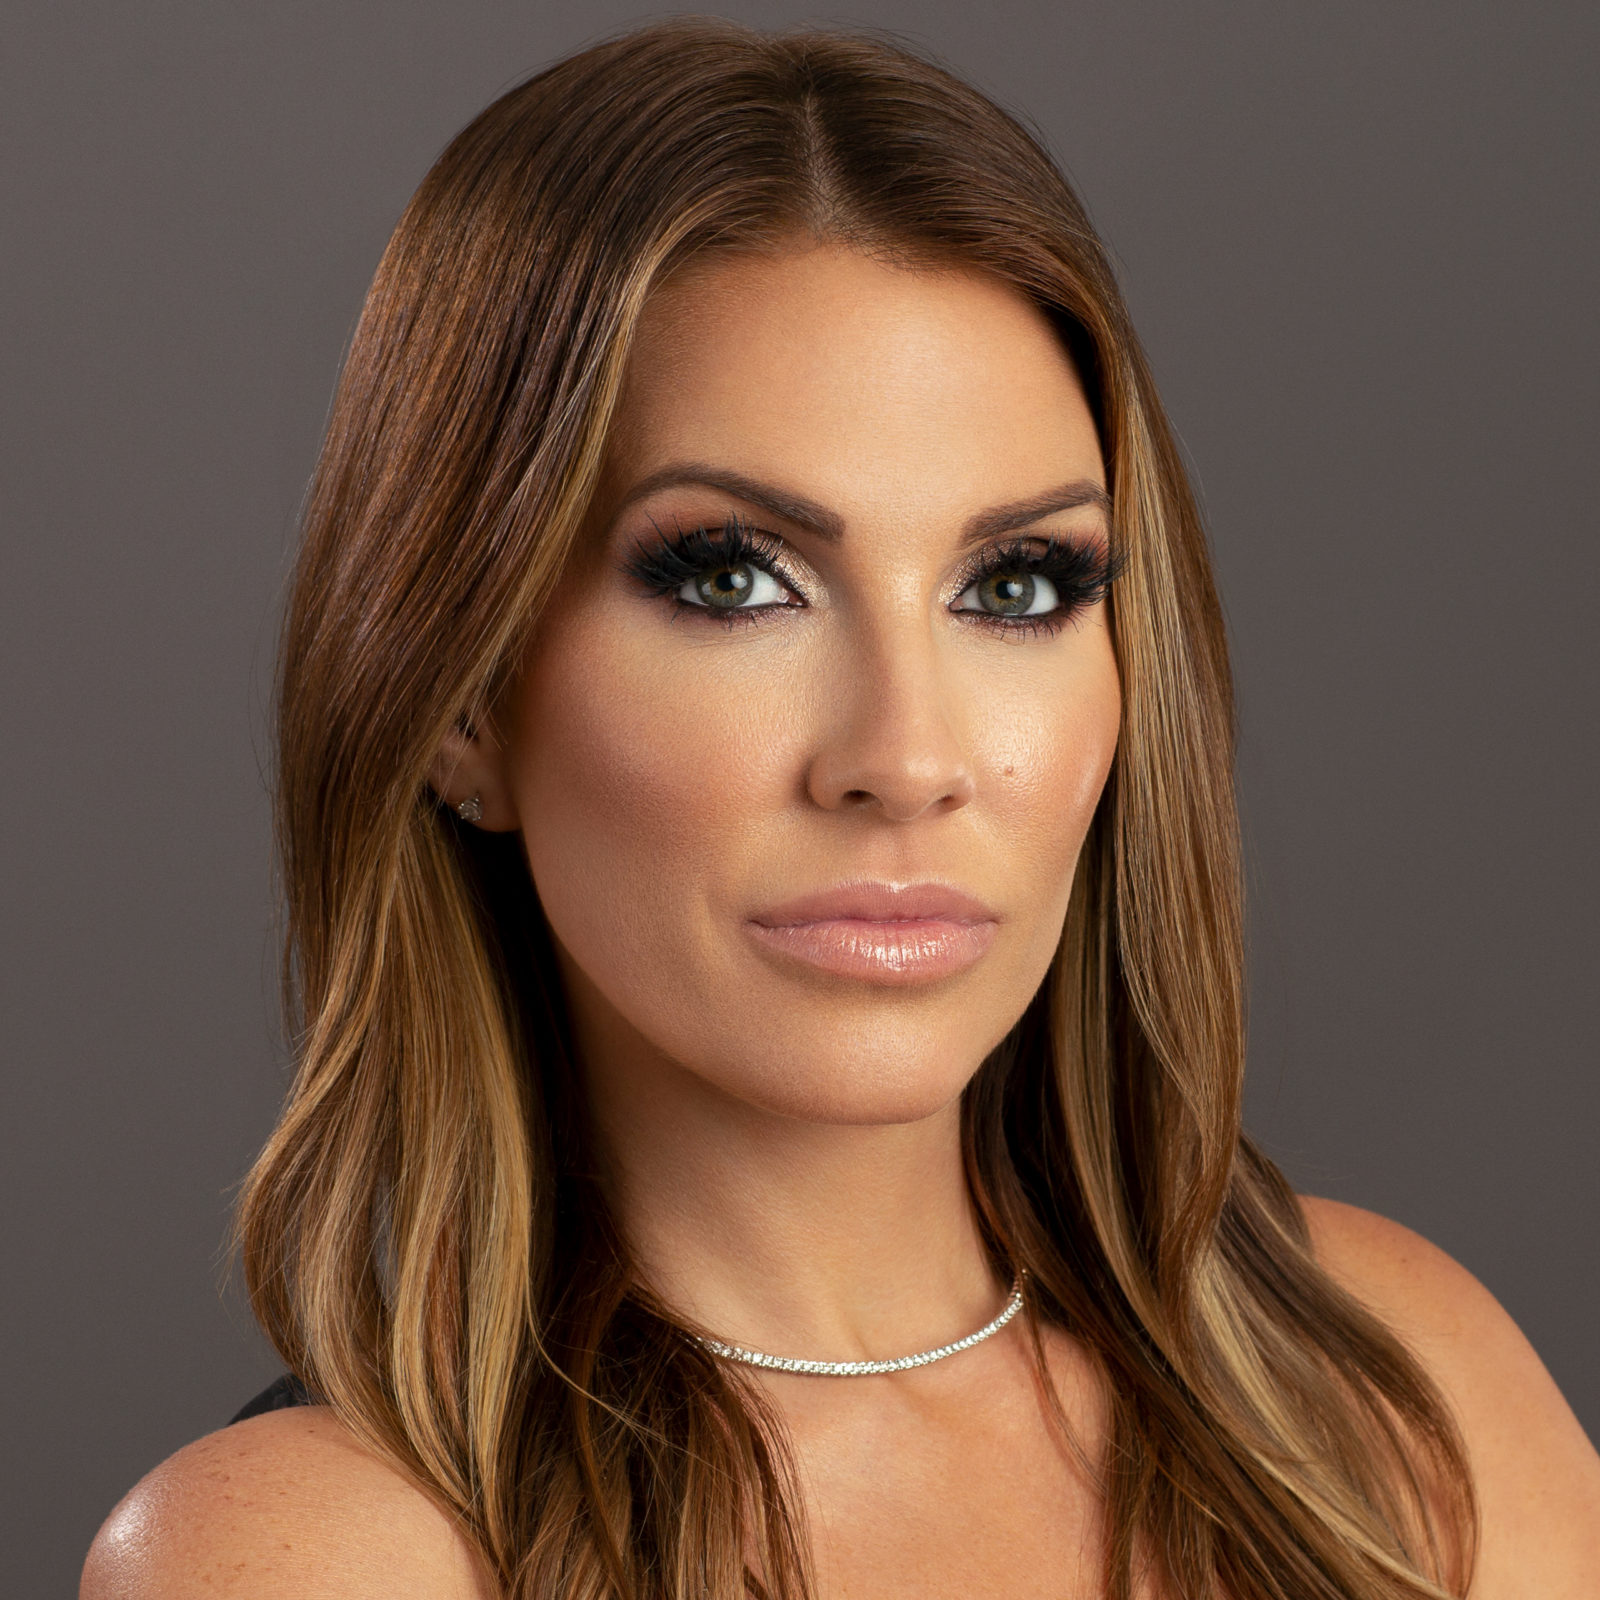
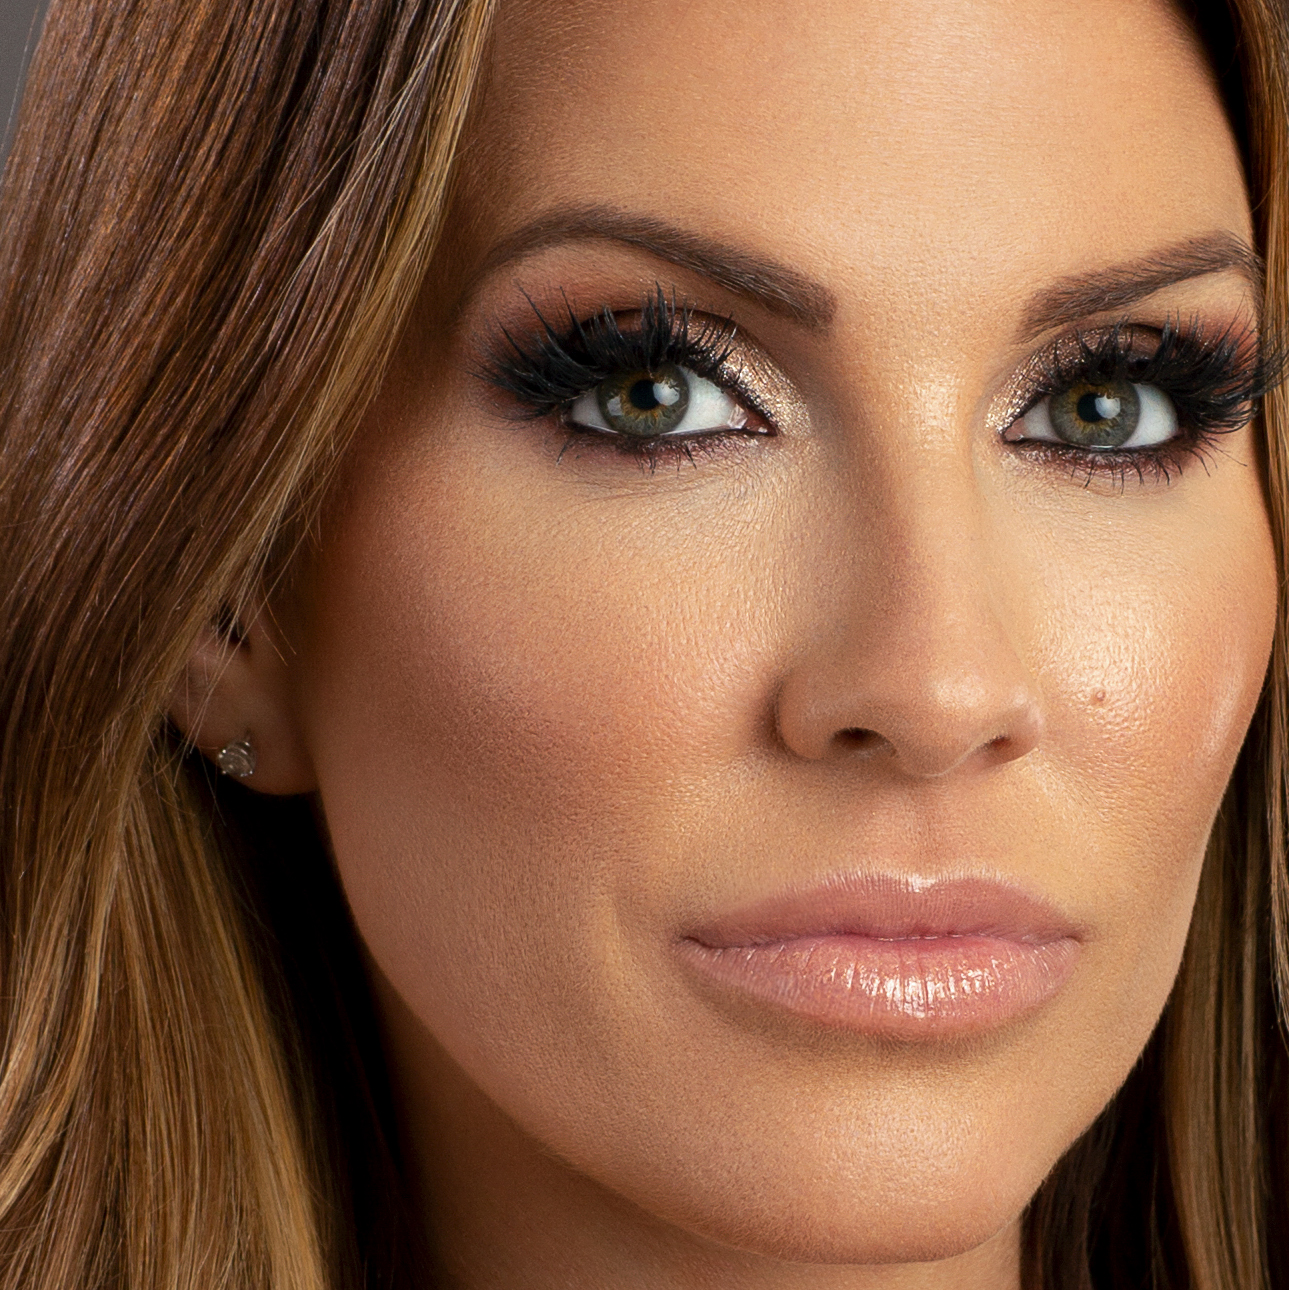
Photo retouching looks like a new invention, but it has been there since the early days of photography. What we believe Victorian and Edwardian ladies looked like is a product of photo editing.
No, most women did not lace their corsets that tight, and neither did they have flawless porcelain skin. All of that is a product of careful airbrushing. However, that’s just the tip of the iceberg. There was more photo manipulation, beyond making people look better.
Enter the digital age. Computers (and, of course, Photoshop) made beauty editing more accessible and allowed for more creativity. Still, there is a reason a professional retoucher will get better results than someone simply looking to make their Instagram pictures look nicer.
Why Do Apps Fail?
No app on the market can compete with professional retouchers. It’s very simple. They work on lower-quality photos that people will only experience through their phone screens.
If you are looking to perfect skin texture, most often your only option is to blur everything and hope for the best. A couple of apps can add some texture back to make skin look more “natural”. Still, it doesn’t take a trained eye to see that something is going on over there.
At least, apps have a legitimate excuse to produce subpar results. Some professional photographers get overzealous about removing every pimple, wrinkle, and pore. This leaves them with results that are like the one you’d get from an app.
At Portrait District, our motto is that flawless doesn’t always equal perfect. The skin should look like skin. All editing that’s done on headshots should look natural and emphasize the model’s beauty.
The blurry effect is unacceptable. Even when applies lightly, it looks like a lot of editing has been done. The model can have an almost perfect complexion, but now it will appear like they have a lot of things to hide.
What Does High End Skin Retouching Look Like?
It starts with a photo.
Professional photographers use cameras that produce high-resolution photographs. The higher the resolution, the more flaws we have on display. This means that there will be at least some editing after the shoot is done.
I use a Canon R5, a mirrorless camera that’s one of the top-rated for portraits. It offers great performance and accuracy that’s fantastic for making your eyes pop, but it captures a lot of skin texture as well.
Since light is one of the most important components of photography, I like to take my time with it. I need to position the lights so they accentuate your features but not flaws.
If you look into the eyes of my lovely model here, you will notice four light sources. Playing with positions and intensity allows me to create a perfect blend of light and shadow that allows her beauty to shine.
Still, we will need a little touch-up later. Remember, these are high-quality photographs that can be used for print. If we blow them out, we want everyone to concentrate on you and not certain lines or spots.
Working in layers.
One of my favorite techniques for dealing with skin imperfections is called frequency separation. To try and put it in the simplest of terms, it’s when I separate areas I want to retouch and work on each individually.
Unlike a standard blur tool that blurs everything at once, this technique allows me to remove blotchiness or fine lines and wrinkles, whilst preserving natural skin texture. Vice versa, it allows me to deal with dry rough patches or enlarged pores while leaving the natural pigmentation untouched. Think trying to perfect the skin without removing freckles. And if you just thought that this is something that celebrities do for their “no makeup” shoots, you are correct.
Lightening and darkening.
Photoshop has two amazing tools called dodge and burn. They are the true secret behind realistic-looking retouching.
Dodge lightens and burn darkens. Two simple, yet time-consuming functions. This technique can take hours for a single photo, but the results are worth it. It deals with skin pigmentation in a way that makes it look flawless yet natural.
I like to use this technique on spots and freckles that are too distracting. There’s no need to remove everything, only the things that grab attention in a bad way.
My lovely model had makeup on, which covered any hyperpigmentation or freckles. However, you can still see a tiny spot on the tip of her nose. Unfortunately, it looks like a pimple, so it has to go.
By careful application of the dodge tool on that group of pixels, I’ve lightened and almost completely erased the spot without destroying skin texture.
Polishing touches.
Please notice how the mole on her left cheek appears untouched. That’s because doing all of the work manually without taking shortcuts allows us to keep details looking realistic.
Once all the blemishes are corrected, it’s time for finishing touches. Depending on the brief, there could be some additional editing. For example, if a model wore lower quality makeup for the shoot and the photo looks washed out, we can compensate for it with a few passes with the burn tool.
Editing can be used to enhance a photo in numerous ways, and our imagination is the only limit.
What Else Can A Professional Retoucher Do?
All the steps I’ve mentioned above cover more than mild imperfections. For example, frequency separation can be used to remove tattoos. It’s more work, but it’s similar to retouching the skin tone without removing the texture.
Of course, each client has unique concerns and I would be happy to hear from you. We can have a chat about the perfect headshot style and what can we do in post to ensure a great outcome.
How Long Does Photo Retouching Take?
Portrait District’s editing team usually delivers the whole gallery within 7 days. Each photo requires our full attention and careful treatment to achieve realistic results.
If you have any additional questions, get in touch and I will answer your questions to the best of my abilities. For more information reagarding on booking the best headshots in Boca Raton, please visit: https://portraitdistrict.com/headshots-branding
Xo Lisa Glam
Latest
Posts
recently on the journal
Previous Post:
Kalu Ndukwe Kalu
The things you do for yourself are gone when you are gone, but the things you do for others remain as your legacy.
